Scene inspiration

See lip sync examples in movies that actually work

Lip sync examples in movies show how performance, timing, and editing combine to make spoken or sung words feel natural on screen. Use these patterns to plan your own short scene.

Free to start · no signup

The scenario’s pain

A convincing scene is more than a moving mouth. The source image, audio timing, facial expression, and final edit all need to support the same performance.

Independent filmmaker

You have a strong portrait or character still, but no budget for a full reshoot or a second camera day.

Turn the existing visual into a directed speaking or singing moment while keeping the framing and mood consistent.

lip sync video
Music video creator

A chorus needs a memorable close-up, but the performer footage does not match the final vocal take.

Build a focused performance insert with clearer timing and a deliberate emotional expression.

lip sync for songs

Animation director

A character design is finished, yet hand-animating every syllable would slow down the production schedule.

Use a timed voice track to guide a more efficient mouth-performance pass before final cleanup.

lip sync animation

Short-form storyteller

A dramatic line has to land quickly in a teaser, trailer, or social cut without adding a full dialogue scene.

Create a compact talking shot that gives the edit a clear visual beat and a stronger hook.

lip sync AI

Three concrete workflows

Choose the workflow that matches your source material, then review the result as an editor rather than accepting the first render automatically.

  1. 1

    Match the source and audio

    Select a clear face or character image, then prepare a clean voice or song excerpt with minimal background noise. Keep the intended emotion and camera angle simple at first.

  2. 2

    Generate the performance

    Describe the scene in concrete terms: who is performing, what they are saying or singing, how the camera is framed, and what expression should carry the moment.

  3. 3

    Edit and verify the shot

    Check mouth timing, jaw movement, eye direction, and continuity with nearby shots. Trim awkward frames and compare the result against the original audio before publishing.

These connected guides help you move from a movie-style idea to a usable source, channel, or production workflow.

Compliance notes

Movie-inspired work can look polished and still create problems if the source, audio, or likeness is not cleared for the intended use.

  • It cannot clear copyrighted footage

    A generated or edited shot does not give you permission to reuse a movie clip, soundtrack, screenplay, or studio-owned character.

    WorkaroundUse original assets, licensed material, public-domain sources, or footage you have permission to modify.

  • It cannot guarantee a perfect facial match

    Fast head turns, profile views, occlusions, extreme expressions, and low-resolution faces can produce visible timing or identity drift.

    WorkaroundBegin with a well-lit forward-facing source and use shorter shots before attempting complex movement.

  • It cannot replace a full continuity pass

    A convincing mouth movement may still conflict with eyelines, lighting, costume details, camera direction, or the surrounding edit.

    WorkaroundReview the generated shot beside adjacent footage and correct continuity in the editing timeline.

  • It cannot make a public figure endorse a message

    A realistic likeness or voice can mislead viewers when presented as an authentic performance or statement.

    WorkaroundObtain consent where required, label fictional or synthetic material clearly, and avoid deceptive claims.

Example output

The strongest result usually comes from a restrained setup: a readable face, a short audio cue, and a specific performance direction instead of a crowded prompt.

  • Source frame
  • Timed performance

The after shot should preserve the character’s identity while making the dialogue or lyric feel intentionally performed.

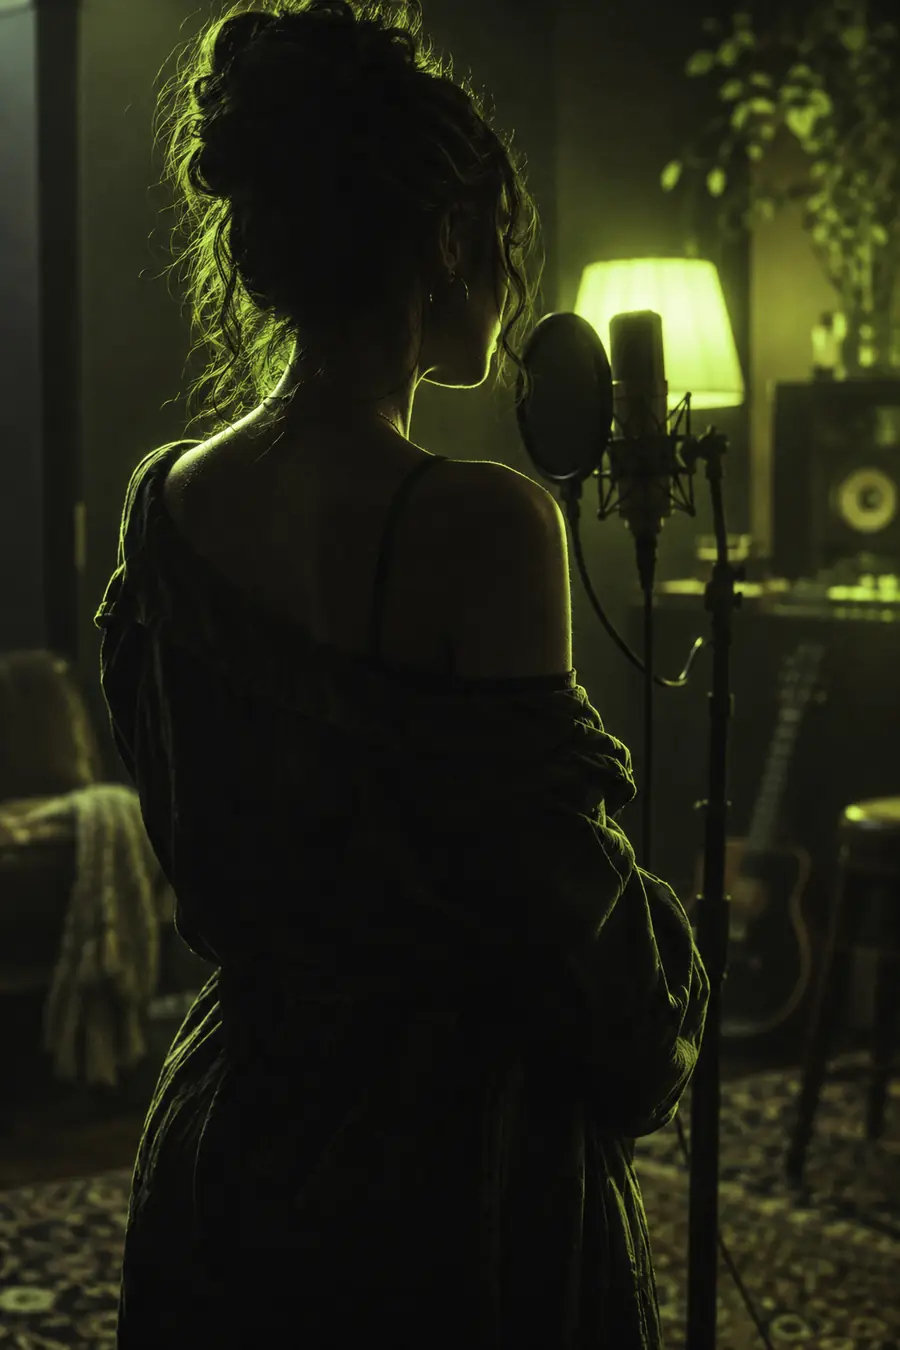
Still movie-style portrait prepared for lip sync
Movie-style portrait presented as a timed speaking performance

Turn a scene idea into a test shot

Start with one short performance rather than an entire sequence. A focused test makes it easier to judge mouth timing, emotional direction, and continuity before you build the rest of the scene.

Create a test shot
  • Describe the character and camera clearly
  • Use a short, clean voice or song excerpt
  • Review the output before sharing it

Scenario FAQ

Common examples include musical close-ups, dubbed dialogue, animated character performances, fictional interviews, and stylized trailer moments. Each depends on matching the visible mouth movement to the timing and emotion of the recorded audio.

Convincing scenes combine accurate timing with believable acting, stable facial features, and editing that hides small imperfections. The camera angle, lighting, and length of the shot also affect how noticeable mistakes become.

Only when you have the necessary rights or permission for the footage, audio, and characters involved. For safer testing, use original images and recordings, licensed assets, or material that is clearly available for reuse.

A short, clean vocal recording with clear pronunciation usually gives the most reliable starting point. Remove excessive background noise and avoid beginning with fast lyrics, overlapping speakers, or heavily processed dialogue.

Give the shot one clear intention, such as a confession, chorus, reaction, or dramatic reveal. Keep the framing consistent, describe the desired expression, and let the edit support the performance instead of adding unnecessary visual changes.

Start creating
Start creating