AI video workflow
Create Better Lip Sync AI Videos
Lip sync AI turns a still image or recorded performance into a speaking or singing clip with timed mouth movement. Start with a clear face, clean audio, and a short creative brief.
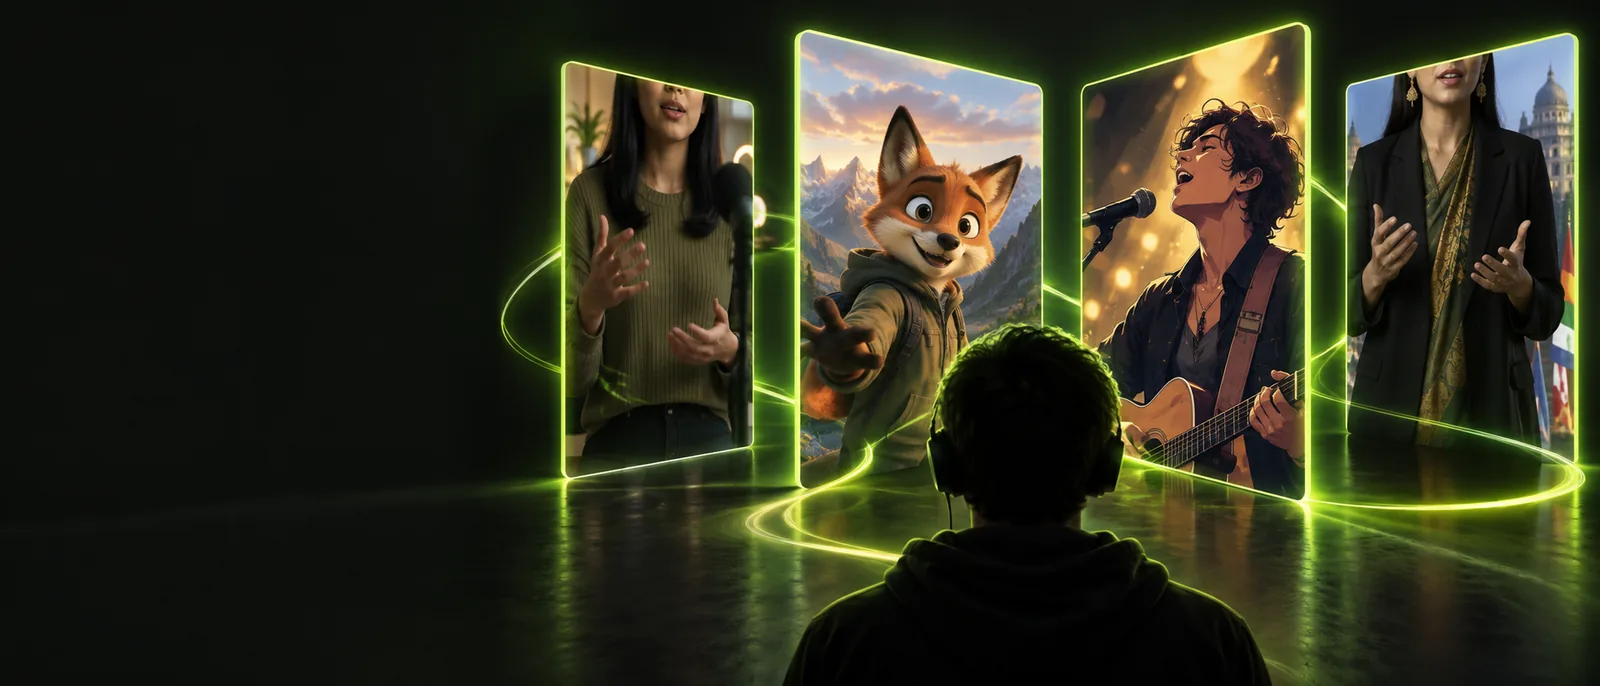
Explore related formats
Before you begin
Prerequisites
A reliable result starts before generation. Prepare the source assets and decide what the mouth and performance need to communicate.
-
1
Choose a readable face
Use a front-facing portrait or video with visible eyes, nose, jawline, and mouth. Avoid heavy blur, extreme profile angles, or a face hidden by hands.
-
2
Prepare clean audio
Trim silence, reduce background noise, and keep one clear speaker or singer. The timing of the audio becomes the timing reference for the generated mouth movement.
-
3
Set the performance brief
Specify the mood, camera framing, language, and delivery. A short direction such as calm presenter or energetic chorus gives the render a useful target without overloading it.
Choose your input
One full run-through
These options describe the same workflow from different starting points. Select the row that matches the material you already have, then keep the first test short.
Starting with a face
Starting with a video
Source
Starting with a face
Portrait, character still, or avatar image
Starting with a video
Recorded person or animated performance
Timing reference
Starting with a face
Uploaded speech, song, or dialogue track
Starting with a video
Existing mouth and body movement
Best use
Starting with a face
Talking portraits, narration, and character tests
Starting with a video
Performance cleanup, dubbing, and alternate dialogue
Main control
Starting with a face
Audio timing plus expression direction
Starting with a video
Audio timing plus the original performance
Key risk
Starting with a face
A weak portrait can produce unstable eyes or jaw movement
Starting with a video
Camera cuts, profile angles, or fast motion can break continuity
First test
Starting with a face
Use a short sentence with a clear pause
Starting with a video
Use one uninterrupted shot with a visible face
Set expectations
Options table
AI lip sync is useful when the source is controlled, but it is not a replacement for a full animation or post-production team. These are the common edges and practical workarounds.
-
It cannot rescue a hidden mouth
If the source face is covered, tiny, strongly angled, or poorly lit, the model has little visual information to follow.
WorkaroundCrop closer, choose a better-lit frame, or use a front-facing source with the mouth clearly visible.
-
It cannot guarantee perfect phonemes
Fast lyrics, unusual names, overlapping speakers, and expressive shouting can make individual mouth shapes drift from the audio.
WorkaroundShorten the passage, clean the track, and test difficult words in a separate clip.
-
It cannot preserve every original detail
Hair, jewelry, teeth, hands, and fine facial texture may shift between frames, especially during large expressions.
WorkaroundSimplify the frame, reduce extreme direction, and review the whole clip rather than a single still.
-
It cannot replace editorial timing
A technically aligned mouth can still feel wrong if the pause, camera cut, caption, or gesture lands late.
WorkaroundTrim the audio first and make the final timing pass in your normal video editor.
Review the result
What fails
Compare the source conditions with a finished talking performance before committing to a longer render. The strongest improvement usually comes from better input, not more elaborate prompting.
- Source setup
- Generated performance
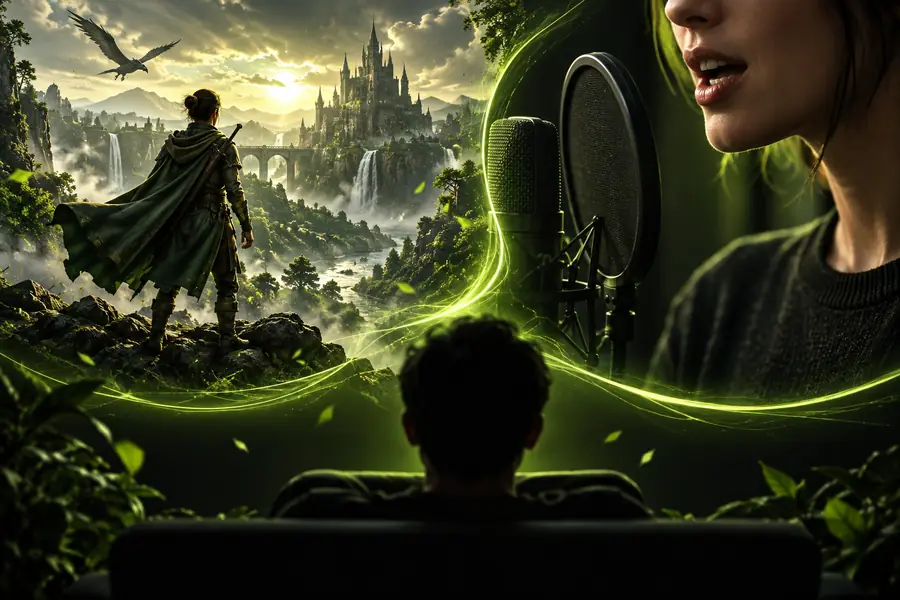
The divider highlights the shift from a prepared face and audio track to a timed video performance.
Quality checklist
Output checks
A quick review catches most problems before publishing. Check the complete clip at normal speed, then inspect the moments where speech, singing, or expression changes.
- 1 Keep the primary face clear and consistently framed
- 1 face
- 2 Use one clean timing reference for the first pass
- 1 audio track
- 3 Validate difficult words or notes before a longer render
- 1 short test
Make a first pass
Turn a clear idea into a talking clip
Bring a readable face, a clean voice or song, and one focused direction. Lip Sync can help you test the performance quickly, then refine the timing and edit around the strongest take.
Create lip sync video- Start with a short, well-lit source
- Use a clear voice or music track
- Review timing before adding edits
Common questions
FAQ
Answers for choosing an AI lip sync workflow and preparing a first test.
Lip sync AI is used to align a face or character with spoken dialogue, narration, or singing. It can help create talking portraits, avatar clips, dubbed scenes, and short social videos from prepared visual and audio inputs.
Use a clear, front-facing source with visible facial features and clean audio. Keep the first clip short, describe the intended emotion, and review pauses and difficult words before generating a longer version.
Yes, a still portrait or character image can be used as the visual starting point when the face is readable. The output is more dependable when the image has good lighting, a stable angle, and enough detail around the mouth and eyes.
It can work with singing, but fast lyrics, layered vocals, and unusual pronunciation are harder than clear speech. Isolate the main vocal where possible and test a short musical phrase before using the full track.
No. It cannot reliably recover a face that is hidden, tiny, blurred, or constantly changing angle, and it may not preserve every original detail. Improving the source footage and audio is usually the most effective workaround.