TikTok tutorial
How to use lip sync on TikTok without guesswork
This guide shows how to use lip sync on TikTok whether you are performing to a saved sound or matching a clip you already recorded. Choose the route that fits your footage, then check timing before you post.
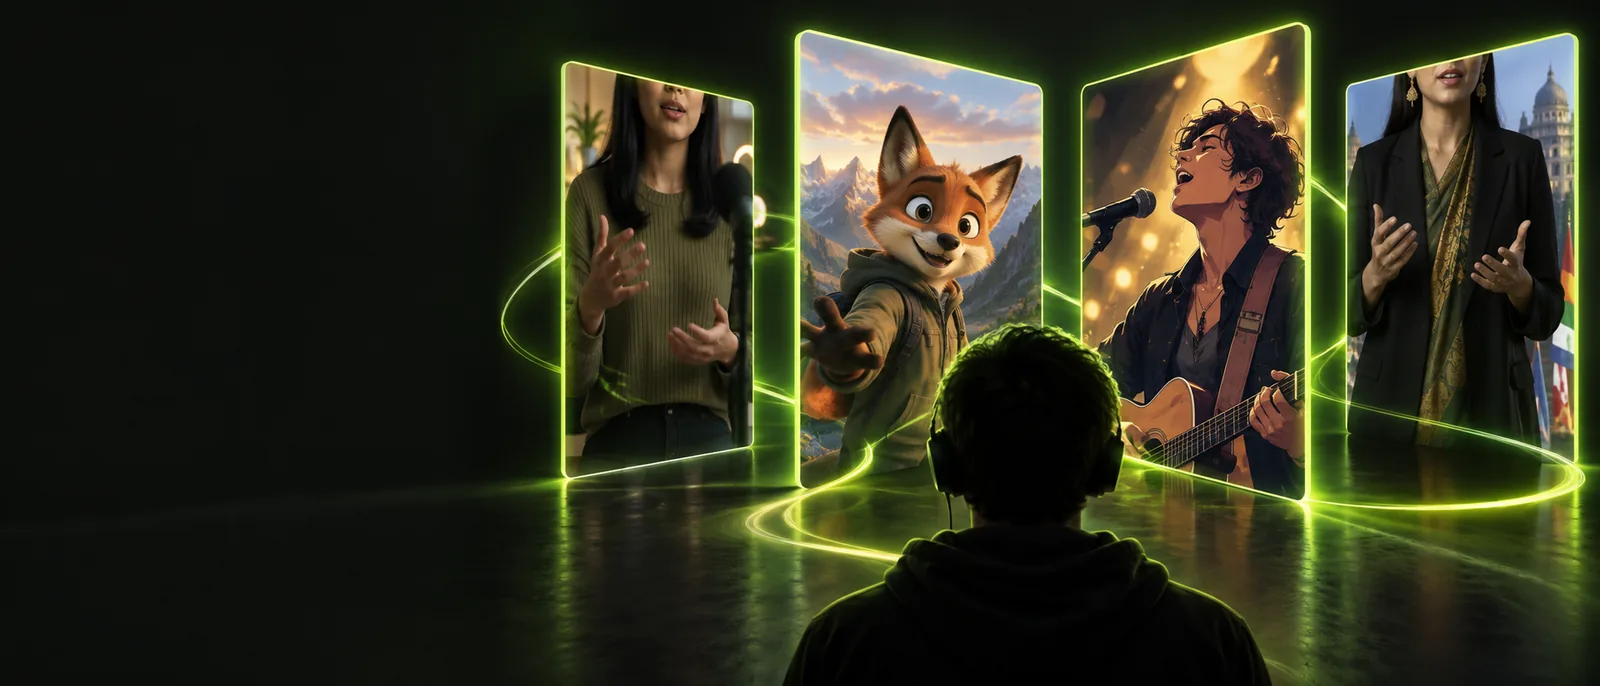
Pick your route
Decide which case you are
The right workflow depends on whether TikTok already has the sound you want or whether your video needs a separate audio track and a more deliberate edit.
Use TikTok audio
Path A
Choose Path A when the sound is already available inside TikTok. This is usually the simplest option because the platform keeps the selected audio attached to the post while you record or edit.
-
1
Find the sound
Open TikTok and use search, a saved sound, or the sound label on another video. Listen once before recording so you know where the first word, beat, or pause begins.
-
2
Record to the timing
Tap the sound, choose the recording option, and frame your face or subject clearly. Start slightly before the first spoken or sung phrase, then shape your mouth movements to the audio rather than rushing to catch up.
-
3
Trim and post
Review the opening and ending, remove dead space, add captions or text only where they help, and preview the final vertical clip before publishing it.
Timing checkpoints
Path A
These are the three moments that matter most when you are checking a TikTok lip-sync draft. They are review points, not promises about platform limits or video performance.
- 1 Your mouth begins with the first audible phrase
- 01 start
- 2 Consonants and visible pauses still match
- 02 middle
- 3 The final reaction lands before the clip cuts
- 03 end
When audio is separate
Path B
Choose Path B when the sound is not available in TikTok, the original recording is noisy, or you need more control over an existing video. The extra preparation can improve alignment, but it also creates more places for drift.
-
TikTok cannot repair poor source timing
If the original voice or song has uneven pauses, a platform sound will not automatically make the mouth movements line up.
WorkaroundTrim obvious silence first and use a clean reference section with a clear first word or beat.
-
One take may not fit every phrase
A continuous recording can look natural at the start and gradually drift by the final line, especially when the performer is watching the screen instead of listening closely.
WorkaroundRecord in short sections or rehearse the transition points before making the final take.
-
The app does not replace visual review
An audio waveform can look aligned while the face still appears late on consonants, stops, or quick changes in expression.
WorkaroundWatch once with sound and once muted. The muted pass exposes visible timing problems.
-
Imported audio may create posting friction
A clip made outside TikTok may need a separate upload and can be affected by rights, availability, or how the platform recognizes its sound.
WorkaroundWhen possible, use the matching TikTok sound and keep your edit short enough to rebuild inside the app.
See the difference
Path B
A clean reference and a deliberate performance make the biggest visible difference. The before state has usable footage, but the timing and framing still need attention.
- Before: loose timing
- After: checked performance
Compare the first phrase, not only the final frame.
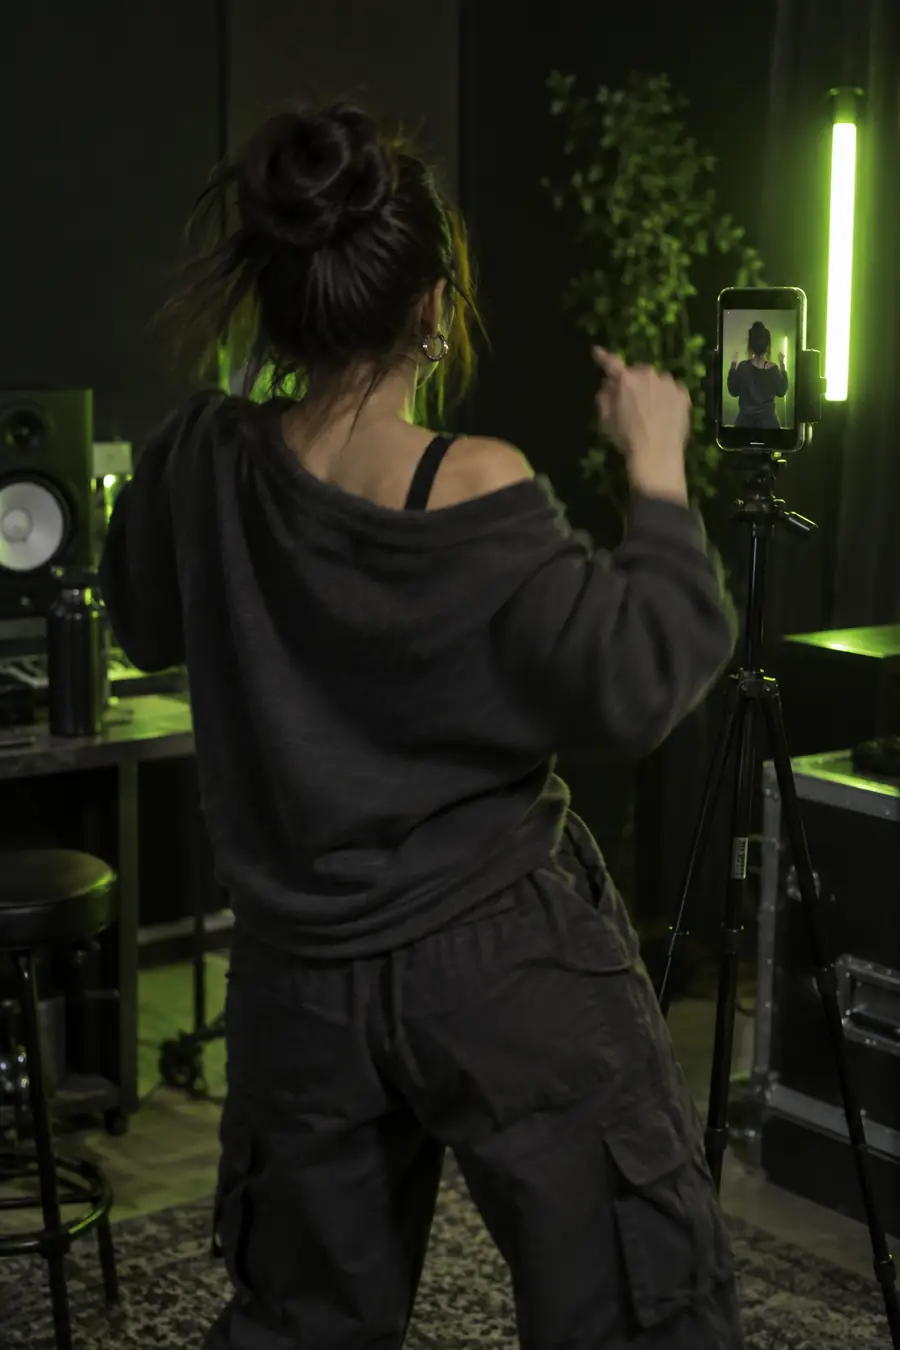
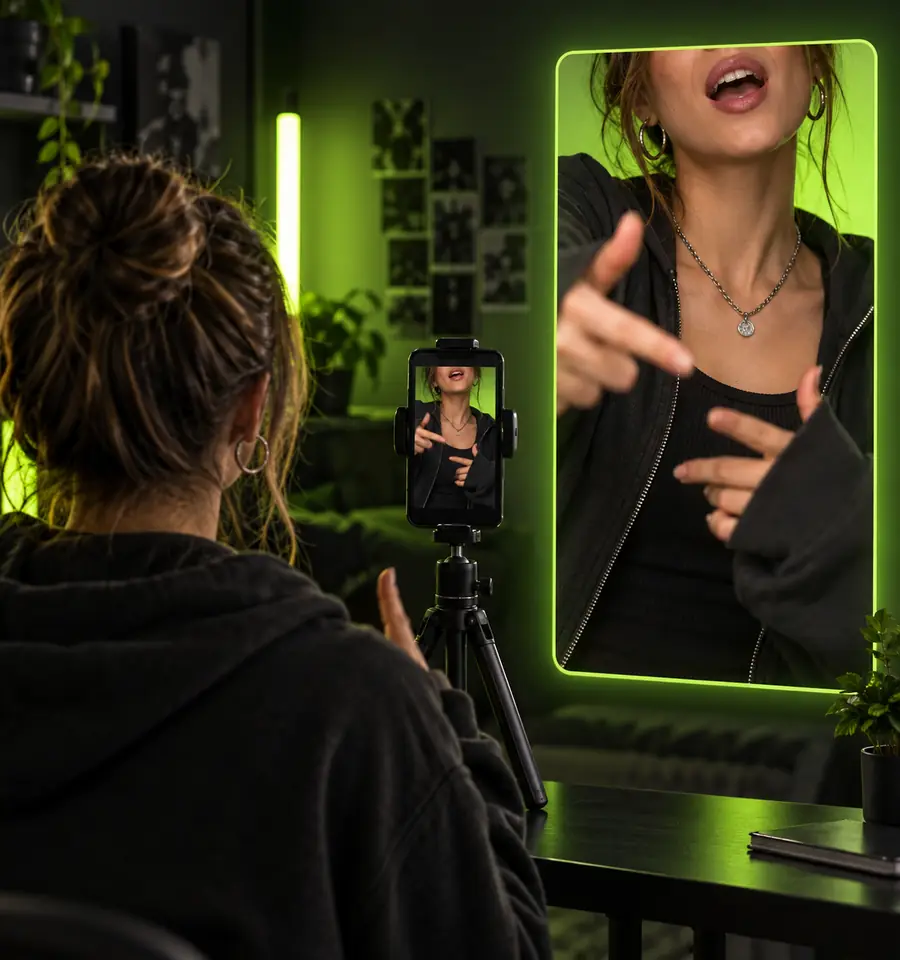
Choose the better workflow
Final check
Use this comparison before you commit to a recording method. Both routes can produce a good post; the better choice is the one that keeps your audio source clear and your timing easy to review.
TikTok sound
Separate source clip
Best for
TikTok sound
Performing to a sound already available in TikTok
Separate source clip
Matching footage to audio that is not available in the app
Setup
TikTok sound
Select the sound, frame the shot, and record
Separate source clip
Prepare, upload, or edit the source before posting
Timing control
TikTok sound
Good for direct performance and quick retakes
Separate source clip
More control over trims, pauses, and reference points
Editing effort
TikTok sound
Usually fewer steps inside the app
Separate source clip
More preparation and a second review pass
Sound continuity
TikTok sound
The selected TikTok sound stays connected to the post
Separate source clip
The uploaded audio may be treated as original or imported sound
Best review method
TikTok sound
Listen for the first phrase and watch the mouth
Separate source clip
Compare the source waveform with visible consonants and pauses
Common risk
TikTok sound
Recording starts late or the performer loses the beat
Separate source clip
The video slowly drifts away from the source timing
Choose it when
TikTok sound
You want the fastest path from sound discovery to post
Separate source clip
You need more control than TikTok's native recording flow provides
Ready to create
Final check
Turn your idea into a cleaner TikTok performance
Start with the sound or clip you can review most clearly. Keep the first take simple, check the opening phrase, watch the result muted, and only then add captions, transitions, or reaction moments. If the timing still feels late, shorten the section instead of forcing the whole recording to work.
Create my lip-sync video- Choose a clear audio reference
- Review timing with sound and muted
- Keep the first version easy to edit
Common questions
Tutorial FAQ
Here are direct answers to the main question behind this tutorial: how to use lip sync on TikTok while keeping the audio, mouth movements, and final edit aligned.
Open TikTok, choose a sound or upload a clip with the audio you want, then record or edit your performance against that reference. Review the first phrase, visible pauses, and ending before posting so the mouth movements stay aligned.
Yes. Find the sound through search, your saved sounds, or the sound label on another video, then use it as the recording reference. Starting slightly before the first phrase makes it easier to match the opening movement.
First, check whether the delay begins at the start or develops gradually. Re-recording from a clearer cue, trimming dead space, or working with a shorter section usually works better than trying to compensate with exaggerated mouth movements.
Use TikTok's native workflow when the sound is already available and you want a quick performance. Edit before uploading when the source audio is separate or you need precise control over pauses, trims, and the relationship between the reference and the footage.
Watch it once with sound and once muted. Sound helps you catch missed phrases and beats, while the muted review shows whether the mouth movements, pauses, and reactions look believable without relying on the audio.